
💡 Key Takeaways
- 3 minutes — time to create and configure AdRoll pixel.
- Cross-platform retargeting — display ads on Facebook, Google, Instagram, and other networks.
- Simple installation — one code for all AdRoll campaigns.
AdRoll Pixel: Powerful Cross-Platform Retargeting Tool
The AdRoll pixel is a JavaScript code that tracks visitor behavior on your website and creates audiences for retargeting campaigns. AdRoll's key advantage is the ability to display ads across multiple platforms simultaneously: Facebook, Instagram, Google Display Network, and many others.
AdRoll uses machine learning to automatically optimize campaigns and find the most effective audiences. This makes the platform especially attractive for small and medium businesses that need results without complex setup.
What AdRoll Pixel Can Do:
- ✅ Tracks website visitors for retargeting
- ✅ Creates audiences based on user behavior
- ✅ Works across all major advertising platforms simultaneously
- ✅ Automatically optimizes ad delivery using AI
- ✅ Tracks conversions and campaign ROI
- ✅ Supports dynamic ads for e-commerce
Creating an AdRoll Pixel
ℹ️ Important to Know
The AdRoll pixel is created automatically when you register your account. You just need to find the code and install it on your site. Each AdRoll account has unique Advertiser ID and Pixel ID.
Log into AdRoll
Go to app.adroll.com and log into your AdRoll account.
Find Pixel Code
Navigate to "Audiences" → "Website Visitors" → "Install Pixel". You'll find the ready-to-use pixel code here.
Copy Pixel ID
In the code, find the adroll_adv_id and adroll_pix_id lines—these are your unique identifiers for ClikBy integration.
AdRoll Pixel Example
Advertiser ID: ABC123DEF456
Pixel ID: GHI789JKL012
Add these IDs to ClikBy settings to automatically track all clicks on your smart links in the format ADVID-PIXID: ABC123DEF456-GHI789JKL012
AdRoll Pixel Code Example:
<script type="text/javascript">
  adroll_adv_id = "ABC123DEF456";
  adroll_pix_id = "GHI789JKL012";
  (function () {
    var _onload = function(){
      if (document.readyState && !/loaded|complete/.test(document.readyState)){
        setTimeout(_onload, 10);return
      }
      if (!window.__adroll_loaded){
        __adroll_loaded=true;setTimeout(_onload, 50);return
      }
      var scr = document.createElement("script");
      var host = (("https:" == document.location.protocol) ?
        "https://s.adroll.com" : "http://a.adroll.com");
      scr.setAttribute('async', 'true');
      scr.type = "text/javascript";
      scr.src = host + "/j/roundtrip.js";
      ((document.getElementsByTagName('head') || [null])[0] ||
       document.getElementsByTagName('script')[0].parentNode).appendChild(scr);
    };
    if (window.addEventListener) {
      window.addEventListener('load', _onload, false);
    } else {
      window.attachEvent('onload', _onload)
    }
  }());
</script>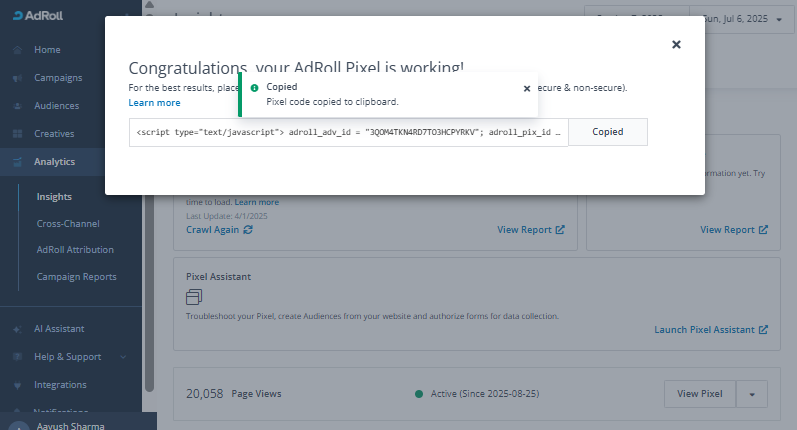
AdRoll Pixel Use Cases
Cross-Platform Retargeting
Display ads to website visitors simultaneously across Facebook, Google, Instagram, and other networks from one dashboard.
Display Advertising
Create beautiful banners and display them on Google Display Network and AdRoll partner networks.
Social Media
Automatically launch retargeting on Facebook and Instagram without creating separate campaigns.
Unified Analytics
Get consolidated reports across all channels in one place with automatic ROI calculation.
Creating Audiences in AdRoll
After pixel installation, AdRoll automatically starts collecting visitor data. You can create various audience types:
AdRoll Audience Types
- Website Visitors — all site visitors within a specific timeframe
- Page Visitors — visitors to specific pages
- Converters — users who completed target actions
- Cart Abandoners — added items to cart but didn't purchase
- Lookalike Audiences — similar to your best customers
- Custom Audiences — based on uploaded email lists
Audience Setup
Open Audiences Section
In the AdRoll dashboard, navigate to "Audiences" → "Create New Audience".
Select Audience Type
Choose the appropriate type: website visitors, specific pages, or custom lists.
Configure Parameters
Specify page URLs, timeframes, and additional conditions for audience inclusion.
⚠️ Minimum Requirements
AdRoll requires a minimum of 100 users in an audience to launch campaigns. For optimal performance, 1000+ users is recommended.
Best Practices for Using AdRoll
Setup and Optimization
- Verify Installation: use AdRoll Pixel Assistant
- Configure Conversions: track key actions on your site
- Use Exclusions: don't show ads to those who already purchased
Creating Effective Campaigns
- Quality Creatives: use bright, eye-catching images
- Personalization: show relevant products and offers
- A/B Testing: test different creatives and audiences
ClikBy Integration
- Simple Setup: add Advertiser ID and Pixel ID to settings
- UTM Tags: use parameters to track traffic sources
- Cross-Channel Analytics: compare with other traffic sources
Compliance
- Privacy Policy: notify users about data collection
- Cookie Consent: obtain user consent
- Content Quality: follow platform advertising policies
Pro Tip: AdRoll is especially effective for e-commerce thanks to dynamic ads that automatically display products users viewed on your site.