
💡 Key Takeaways
- 5 minutes — time to create and set up Facebook Pixel.
- One pixel per ad account — use existing one.
- Full integration with ClikBy for conversion tracking.
- Automatic setup — events tracked without code.
Facebook Pixel: Key to Effective Advertising
Facebook Pixel is a small piece of code that allows you to track user actions on your website after clicking on ads in Facebook and Instagram. It's the foundation for retargeting, conversion optimization, and creating lookalike audiences.
With ClikBy, you can easily integrate Facebook Pixel into your smart links and get detailed analytics on all traffic and conversions.
What Facebook Pixel Can Do:
- ✅ Tracks conversions (purchases, registrations, submissions)
- ✅ Creates audiences for retargeting
- ✅ Optimizes ad delivery
- ✅ Builds lookalike audiences
- ✅ Measures ROI of ad campaigns
How to Find Existing Facebook Pixel
⚠️ Important to Know
Each Facebook ad account can have only one pixel. If you've already run ads, the pixel already exists — don't create a new one!
Open Business Manager
Go to business.facebook.com and log into your account.
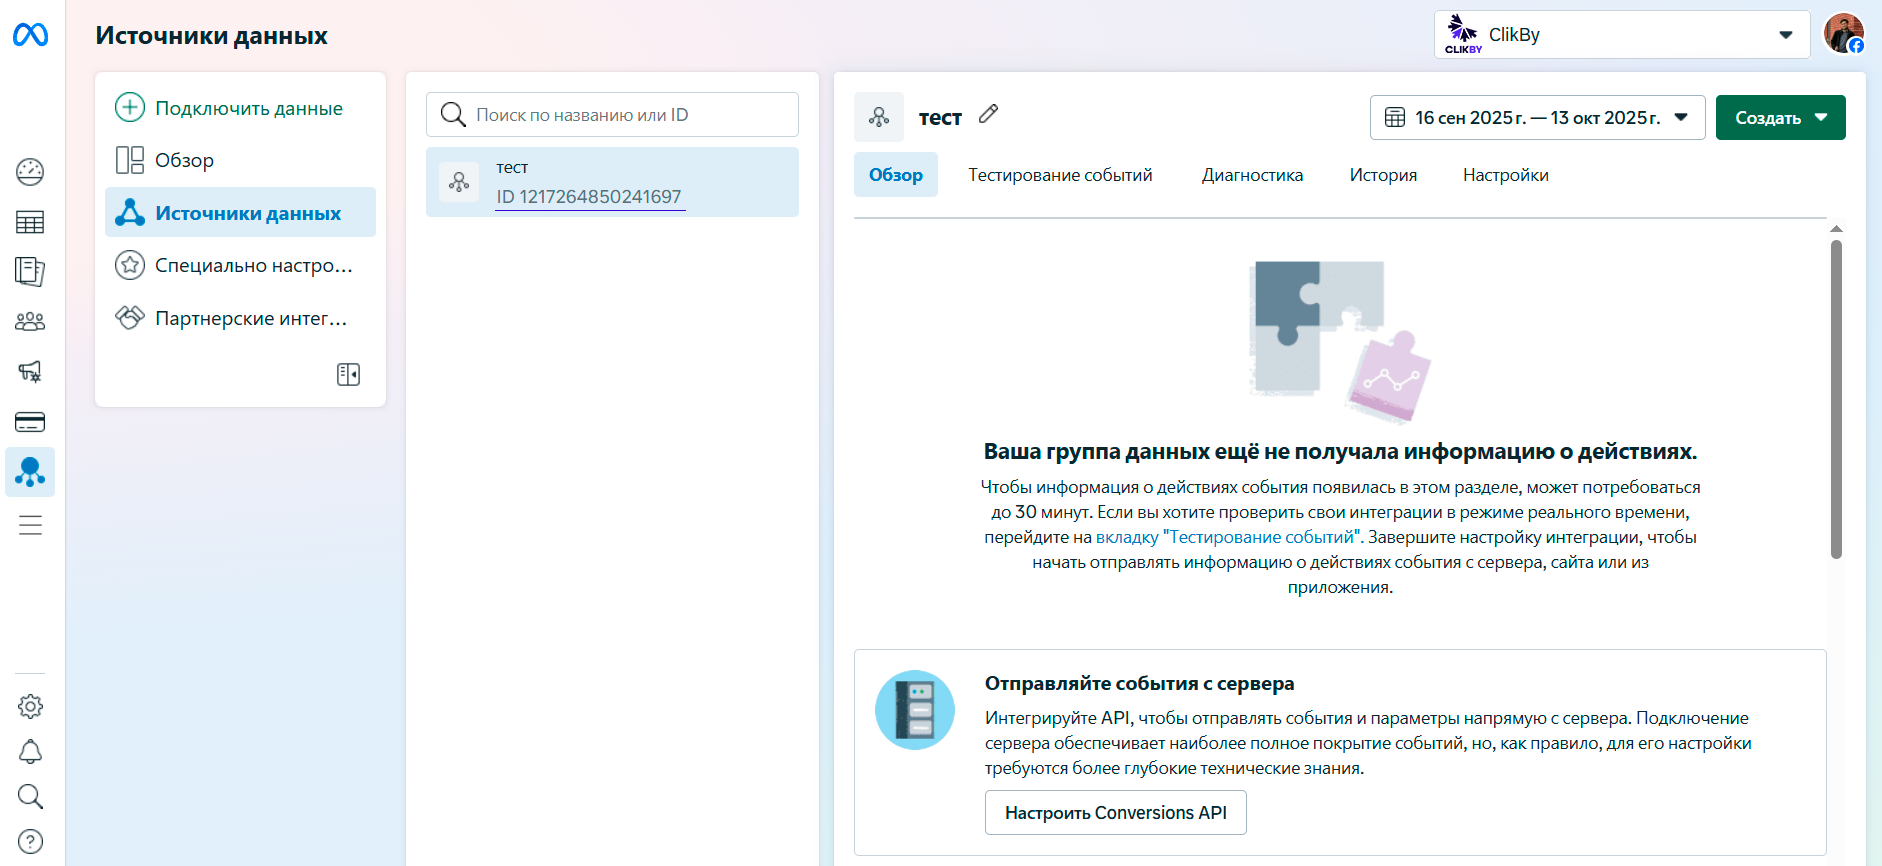
Find Events Manager
In the left menu, find the "Events" or "Events Manager" section. If it's not in the main menu, click "All Tools".
Check Pixel List
In Events Manager you'll see all existing pixels. If the list is empty — you need to create a new pixel.
Creating New Facebook Pixel
If you don't have a pixel yet, create it following these instructions:
Open Events Manager
In Facebook Business Manager, go to the "Events" section (Events Manager).
Create New Pixel
Click the green "Connect Data Sources" button → "Web" → "Connect".
Configure Pixel
Enter the pixel name (for example, "My Website") and click "Create".
Get Pixel ID
After creation, copy the Pixel ID — this is a 15-16 digit number. You'll need it for ClikBy integration.
Adding Website
Add your website to pixel settings: Go to "Data Sources" → Select your pixel → In the list below, choose "Collect events on website from browser activity" → In the "Add pixel code to website manually" block, click "Install Code Manually" button. Then a new window will open with "Add Meta pixel to your website", click "Copy Code" button, at the bottom of the page click "Continue" button. On the next page "Automatic Advanced Matching", enable automatic advanced matching and click "Continue" button. On the last page "Adding Events", don't add anything (as these events are analyzed by our AI Selena solution) and proceed by clicking "Go to Pixel Overview" button.
Facebook Pixel Example
Pixel ID: 123456789012345
This ID needs to be added to ClikBy settings for automatic tracking of all clicks on your smart links.
Facebook Pixel Use Cases
Retargeting
Show ads to people who have already visited your website. This is the most effective way to bring back potential customers.
Conversion Tracking
Accurately measure how many sales, registrations, or leads each advertising campaign generates.
Lookalike Audiences
Facebook will find people similar to your best customers and show them your ads.
Analytics
Get detailed reports on user behavior on your site and advertising effectiveness.
ClikBy Integration
ClikBy automatically sends events to Facebook pixel when users click on your smart links:
✅ Automatic Setup
Simply add the Pixel ID to ClikBy settings, and the system will automatically track all clicks as "ViewContent" events with additional parameters.
Pro Tip: Create separate pixels for different projects only if you have multiple Business Manager accounts. Within one account, use one pixel with different events.