
💡 Key Takeaways
- 3 minutes — time to create Yandex.Audience pixel.
- Anonymous identifiers — pixel collects only anonymous data.
- Retargeting in Direct — main pixel application.
- One pixel — can be used in any number of banners.
Yandex.Audience Pixel: Retargeting Tool
Yandex.Audience pixel is a tool that allows collecting anonymous user identifiers who saw your banners or visited your site. This data is used to create audience segments and set up retargeting in Yandex.Direct.
Unlike Facebook pixel which tracks conversions, Yandex.Audience pixel focuses on collecting audiences for re-showing ads. This makes it an ideal tool for returning potential customers.
What Yandex.Audience Pixel Can Do:
- ✅ Collects anonymous user identifiers
- ✅ Creates segments for retargeting
- ✅ Works in RSA and other ad networks
- ✅ Shows audience reach for 7, 30 and 90 days
- ✅ Integrates with Yandex.Direct
Creating Yandex.Audience Pixel
ℹ️ Important to Know
One pixel can be used in any number of banners and campaigns. Create separate pixels only for different projects or sites.
Open Yandex.Audience
Go to audience.yandex.ru and log into your Yandex account.
Create New Pixel
Go to "Pixels" tab and click "Create Pixel" button. Specify pixel name (for example, "Site" or "Social Media Audience").
Get Pixel Code
After creation the system will generate pixel code. Copy it — you'll need it for installation on site or in banners.
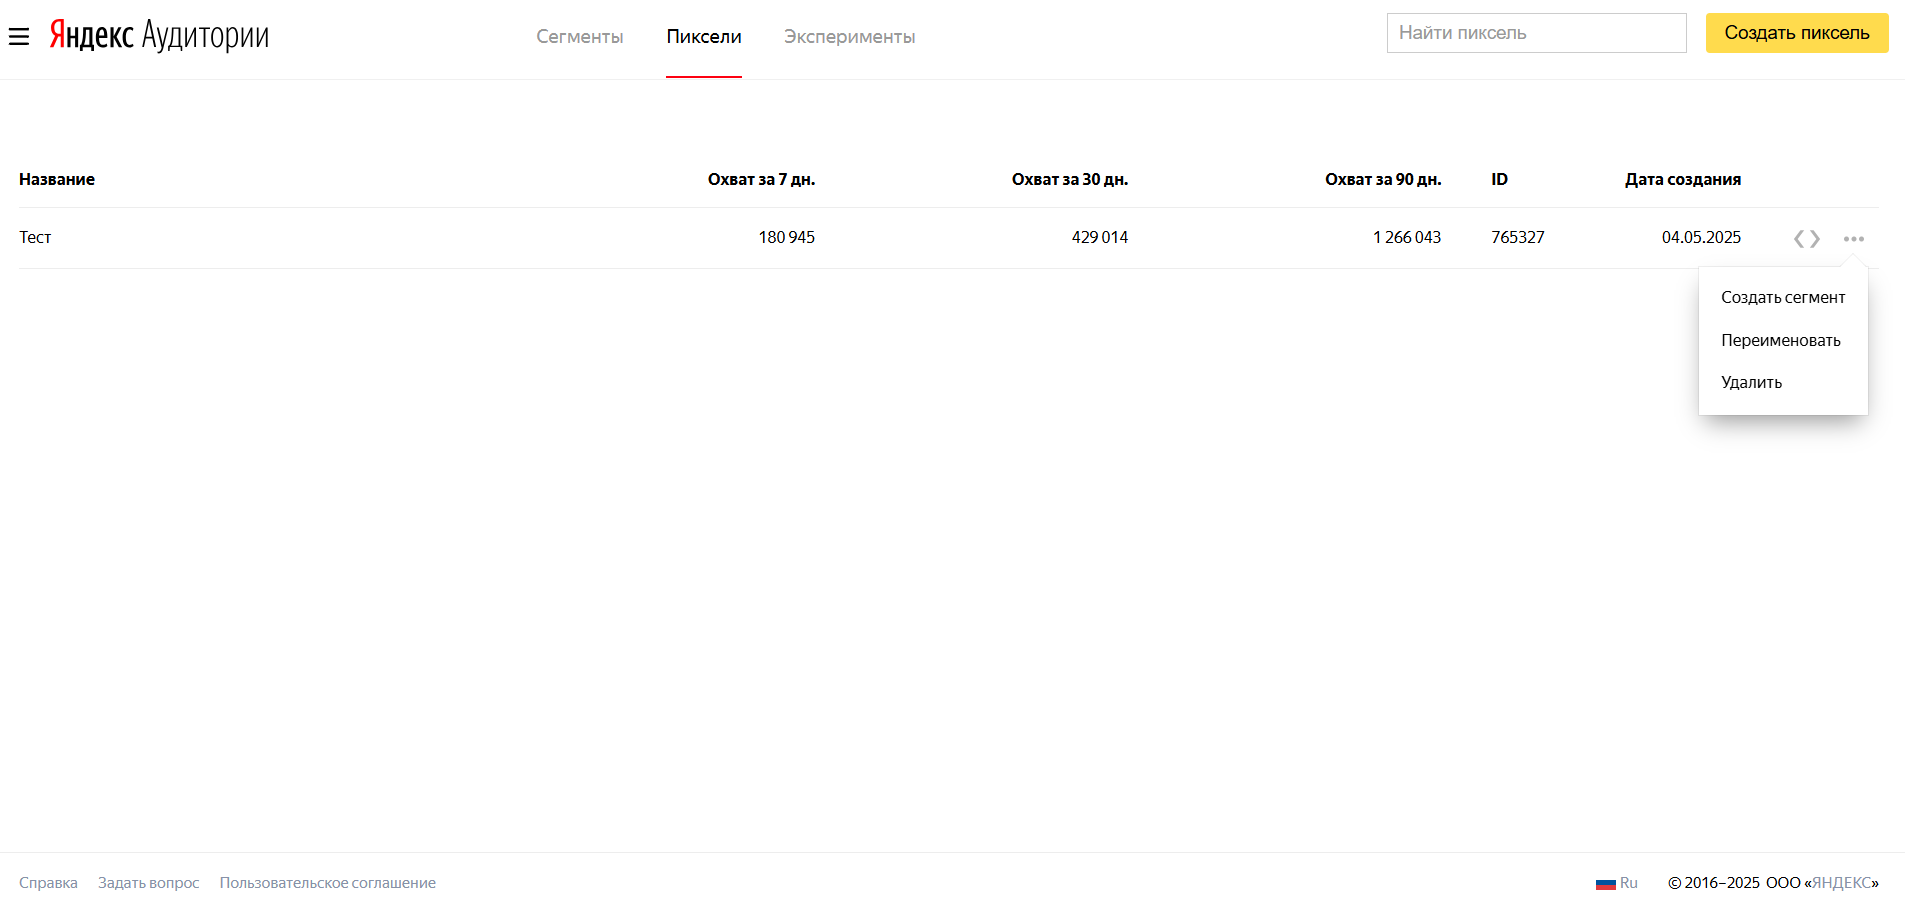
Yandex.Audience Pixel Example
Pixel Code Ready to Use
This code can be embedded in banners through Yandex.Direct or installed on site to collect visitor audience.
Installing Pixel
Yandex.Audience pixel can be installed in two ways:
1. Through Yandex.Direct (for banners)
Copy Pixel Code
In Yandex.Audience click the three-dot button next to the pixel and copy the code.
Open Yandex.Direct
Go to creating or editing ad group in display campaign.
Add Pixel to Ad
Select the desired ad and paste the copied code in the "Yandex.Audience Pixel" field.
2. How to Add Yandex.Audience Pixel to ClikBy
✅ Simple 1-Click Integration
On ClikBy service go to Pixels section and click "Add" button. Then enter a name for the pixel, select Yandex.Audience pixel from the list in the "Type" field, paste the pixel ID and click "Save".
Pixel Use Cases
Visitor Retargeting
Show ads to people who already visited your site but didn't complete the target action.
Audience Segmentation
Create different segments based on user behavior on the site.
Direct Optimization
Use segments to configure display conditions in Yandex.Direct.
Reach Analysis
Track audience size and activity over different periods.
Creating Pixel-Based Segments
After installing the pixel and accumulating data, you can create audience segments:
Segment Types
- Site visitors — everyone who visited the site during a specific period
- Specific page visitors — users who viewed certain sections
- Active users — those who performed certain actions
- Exclusions — audiences to exclude from impressions
Segment Setup
Select Pixel
In the "Segments" section click "Create Segment" and select "Based on Pixel".
Configure Conditions
Specify conditions for segment inclusion: page URLs, activity period, additional parameters.
Save Segment
Give the segment a name and save. It will become available in Yandex.Direct in a few hours.
⚠️ Important Limitations
Minimum segment size for use in Direct is 1000 users. Segments update every 6-12 hours depending on the period.
Best Practices
Setup and Management
- Plan ahead: start collecting audience before launching retargeting
- Monitor reach: track audience size across periods
- Update regularly: inactive identifiers are removed after 30 days. Consider this when setting up AI.
Creating Effective Segments
- Segment by behavior: separate visitors of different pages
- Test periods: find optimal segment lifetime
- Combine conditions: create complex segments for precise targeting
Integration with ClikBy
- Simple installation: add pixel code to ClikBy settings
- UTM tags: use parameters for more precise segmentation
- Different landings: create separate segments for different pages
- A/B testing: compare effectiveness of different approaches
Pro Tip: According to official Yandex documentation, the pixel can be embedded not only in RSA, but also in other ad networks, which expands audience collection capabilities.